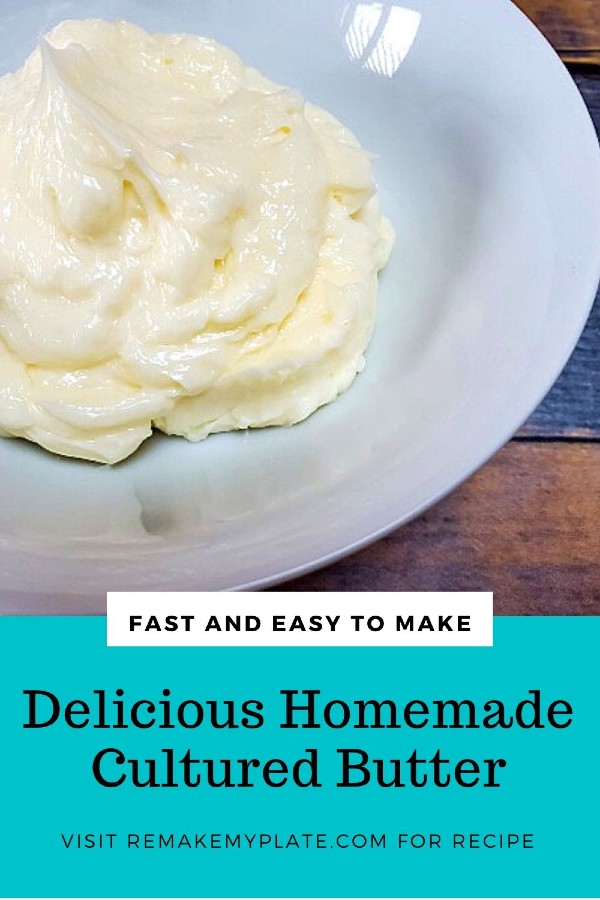
Learn how to make this delicious European styled Homemade Cultured Butter and real buttermilk using two simple ingredients. The flavor of homemade butter is amazing. It’s so easy to make you will wonder why you haven’t tried this before.
Homemade Cultured Butter
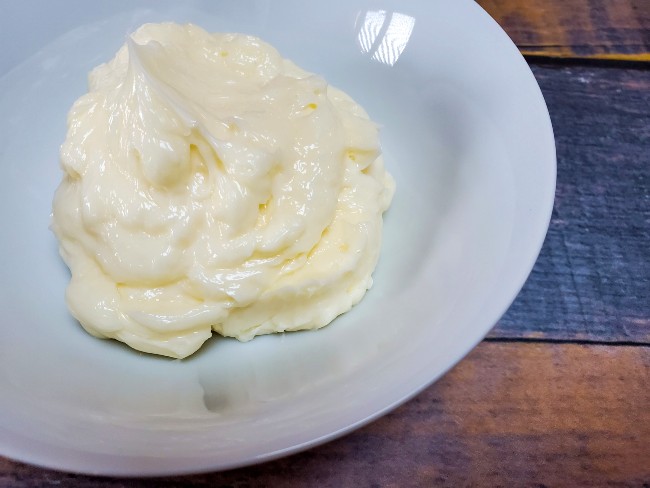
I am a big fan of real butter. The taste of butter is far superior to any type of margarine or butter flavored spread. And, as if real butter couldn’t get any better, it does when it’s made into cultured butter!
If you’ve never made homemade butter before then your in for a treat. It’s amazingly easy to do and the taste is out of this world!
What is cultured butter?
Cultured butter is made with cream that has been fermented for a period of time with live bacterial cultures similar to yogurt. Like yogurt, it also has a slightly tangy taste to it and this delicious flavor enhances just about everything.
Ingredients you’ll need
To make cultured butter you will need just two ingredients:
- Heavy Cream
- Yogurt with live, active cultures
You’ll need at least a quart of cream to create your butter. While you want to buy the best quality heavy cream that you can afford you don’t have to go crazy looking for any type of specialty cream. If you want organic cream you can use it but it’s not a necessity. I’ve made cultured butter from many different heavy cream brands and it has worked with all of them.
You’ll need plain yogurt made with LIVE, active cultures. Choose a brand that doesn’t contain added sugar if possible. Check the label to make sure if it contains live cultures. These cultures are what will become active in the cream and will give it the amazing flavor that you can only get from a cultured butter.
To create yogurt, these cultures are added to milk that has had some or all of the milk fat removed. If the yogurt contains live cultures we can use them to inoculate heavy cream so it too can begin fermenting to create the cultured cream needed to make butter.
If you have access to other types of milk products with live active cultures such as cultured buttermilk, cultured sour cream or even cultured Creme Fraiche (a thicker, tangier version of sour cream).
You can also purchase cultures to make the butter but personally it’s just easier to pick up a container of yogurt with active cultures at your local store. No specialty shop purchases are needed.
Equipment needed
- Container with a tight fitting lid
- Large Bowl
- Spatula
- Colander
- Bowl to hold buttermilk
- Stand mixer with a whisk attachment or a hand mixer
How to make cultured butter
The start of making cultured butter begins with culturing the cream. The heavy cream is mixed with yogurt containing live, active cultures.
In a mixing bowl begin by mixing 1/2 cup of yogurt into the quart of heavy cream. Stir well.
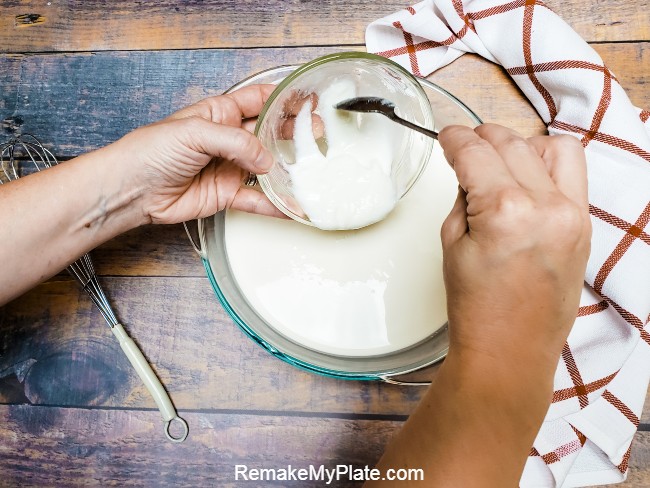
Place the cream mixture into a container with a cover. You can also leave it in the bowl you mixed it in and simply cover with plastic wrap.
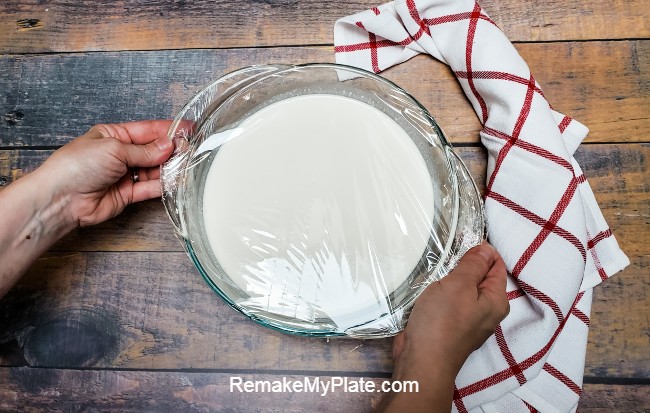
Allow the mixture to sit in a warm place at room temperature for at least 24 hours. It can stay up to 48 hours if desired. The microorganisms in the cultures will begin to ferment the milk. They tun the lactose (milk sugar) in the cream into lactic acid. This gives the cream a tangy flavor and thickens up the cream.
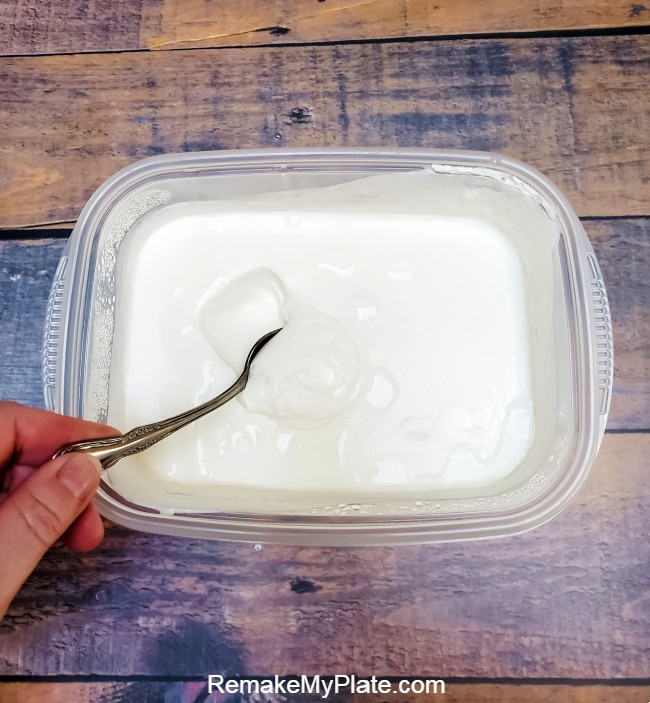
After 24 to 48 hours place the mixing bowl in the refrigerator to also chill. Once the cream has cooled, set up the large mixing bowl on the mixer. Spoon in the cream.
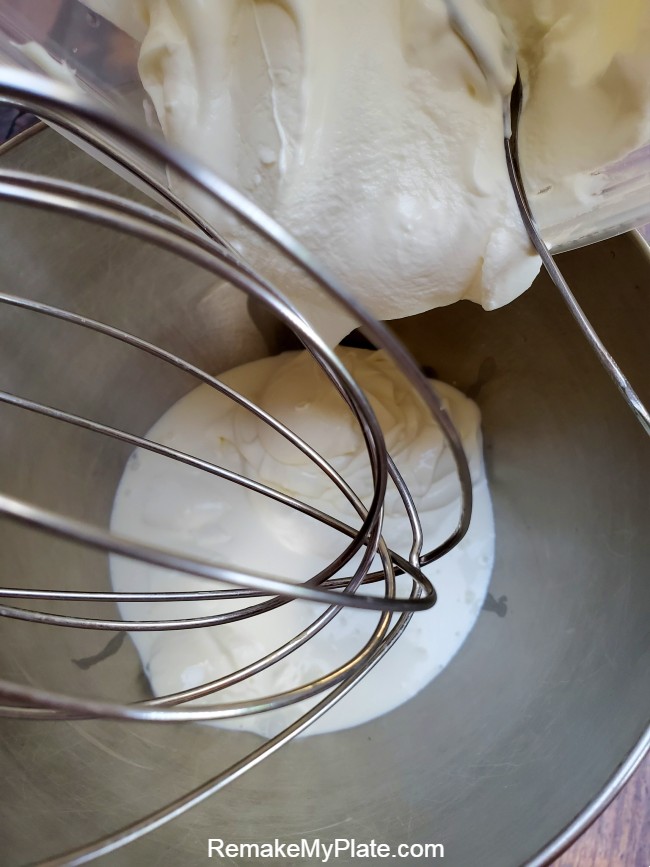
Add the whisk attachment. Turn on the mixer and begin whipping the cream. As the cream is whipped it will begin to thicken. Peaks will form. Keep whipping the cream watching for stiff peaks to begin forming. The cream will thicken enough that it will start sticking to the sides of the mixing bowl. Stop the mixer and scrap down the side.
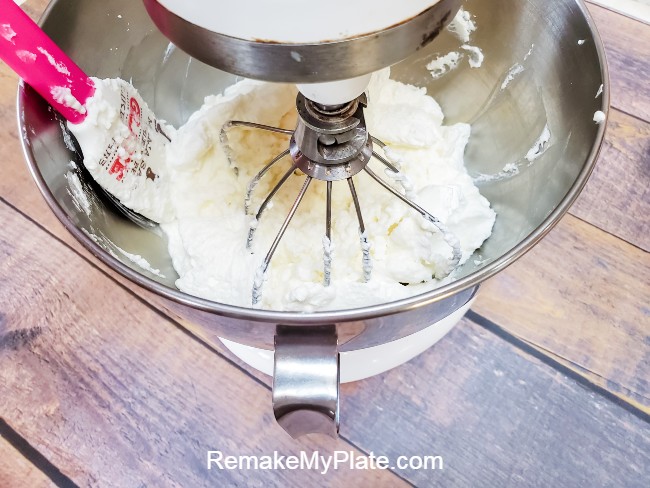
Begin whipping the cream again. As the cream is whipped the fat in the milk will begin to come together. You will notice small granules begin to form in the cream. Continue to whip the cream while watching for it to take on a scrambled egg appearance.
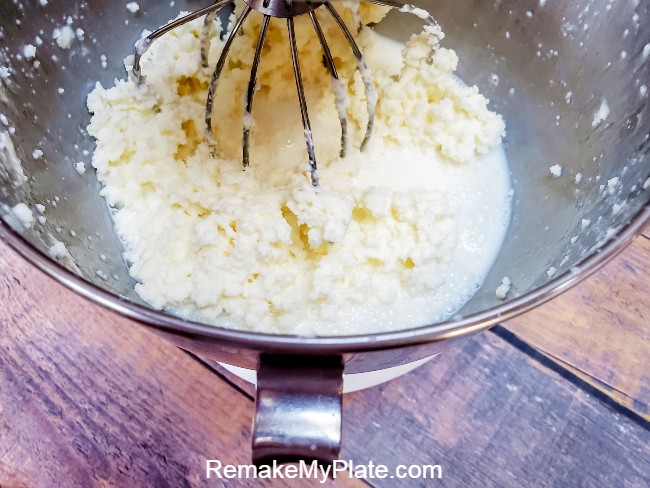
Liquid will separate out and the granules will come together as butter forms. Stop the mixer. Set up a bowl with a colander or strainer over it. Pour the contents (both liquid and solids) into the strainer/colander. You will be separating the buttermilk from the butter solids.
SAVE THE BUTTERMILK! Place the leftover buttermilk in a covered container in the refrigerator and use in your baking. See below for tips on freezing the buttermilk for future baking and cooking projects.
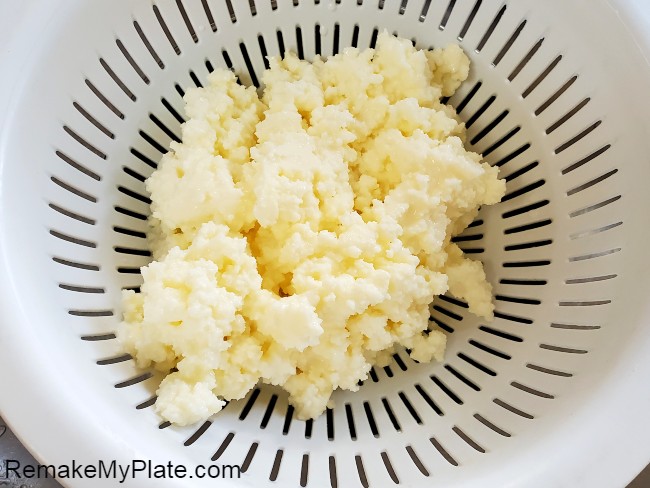
Place the butter solids (butter curds) back into the mixing bowl. Use the spatula and press the butter against the wall of the mixing bowl. This process will squeeze out the buttermilk that is trapped in the butter. Keep working the butter against the side of the mixing bowl to squeeze out the buttermilk. Pour the liquid out as it forms.
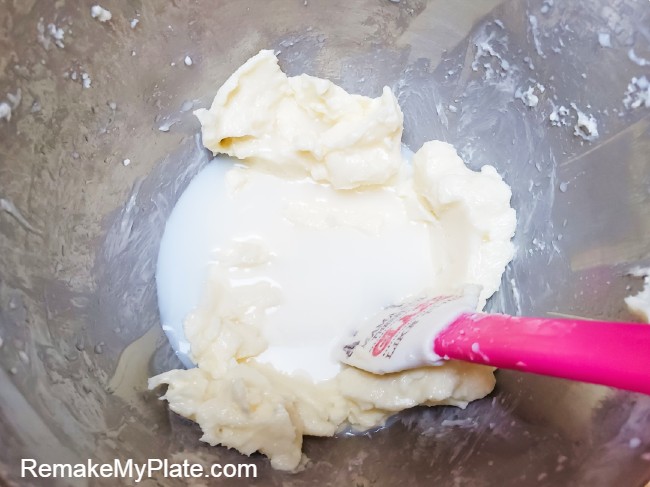
The excess buttermilk needs to be “washed” out of the butter. Add 1/2 cup of cold water to the mixing bowl and continue the mixing and pressing. The clear water will become cloudy as it pulls out the excess buttermilk. Leaving the buttermilk trapped in the butter will reduce the shelf life of the finished butter.
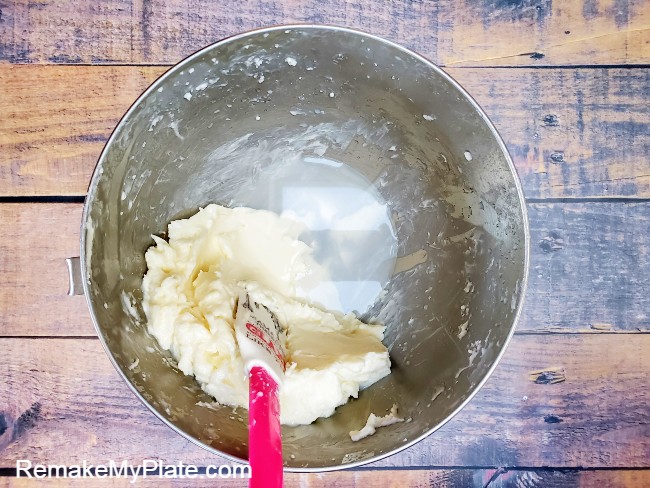
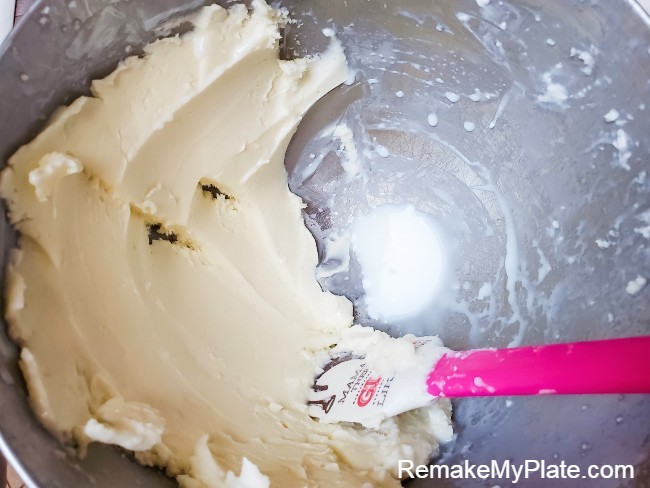
Continue this process until the liquid released is almost clear. Once it is clear continue to paddle the butter against the side of the mixer until there is no more liquid released. The butter will no longer have a granular appearance and will become smooth.
For the best result, store your butter in the refrigerator for the longest shelf life. Any trapped buttermilk that is left will reduce the shelf life if stored at room temperature.
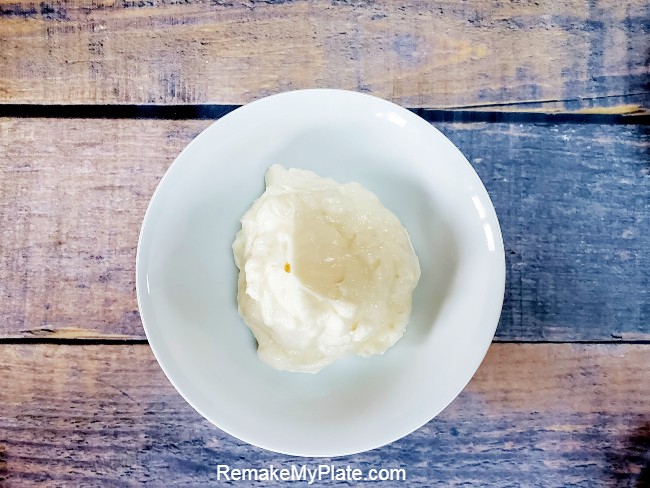
If desired add a pinch or two of salt or your favorite sea salt to the butter and mix well. Salt adds to the flavor of the butter and most people prefer to use salted butter to top their toast, muffins and even sourdough bread.
How long does cultured butter last?
You can store cultured butter in a covered container in the refrigerator for up to 1 month.
Does cultured butter need to be refrigerated?
Yes. The cultured butter will contain small amounts of butter milk in it no matter how much you paddle it. If the butter is stored at room temperature then this trapped buttermilk will go bad. It’s best to keep your butter stored in the refrigerator or freezer.
Is it safe to keep cultured butter at room temperature?
The USDA says this about butter:
Butter and margarine are safe at room temperature. However, if butter is left out at room temperature for several days, the flavor can turn rancid so it’s best to leave out whatever you can use within a day or two.
Homemade cultured butter may begin to go bad in a few days depending on the room temperature. It’s best to store it in the refrigerator and take out what you need to use at that time.
Can you freeze cultured butter?
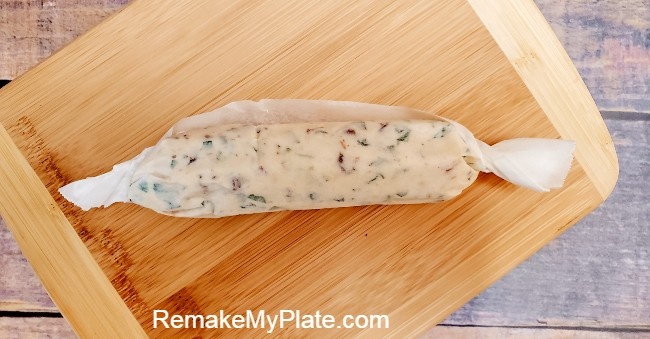
Yes you can freeze cultured butter for up to 4 months. Wrap the butter tightly in plastic wrap to keep it from picking up off flavors. I place my cultured butter on parchment or wax paper and roll it into a log. You can put these logs into a plastic freezer bag and store it in the freezer.
How do I store the buttermilk?
One byproduct of making cultured butter is buttermilk. This slightly tangy liquid is great to use in baked good and other types of cooking. The buttermilk can be stored in a covered container in the refrigerator. It can last about 2 to 3 weeks in the refrigerator.
Can you freeze buttermilk?
Yes! You can also freeze buttermilk. I pour my buttermilk into ice cube trays. Once frozen remove the cubes, place in a freezer bag and store in the freezer for up to 3 months. To use take out the cubes and allow to thaw before adding to your recipe.
Food and recipes that taste even better with cultured butter:
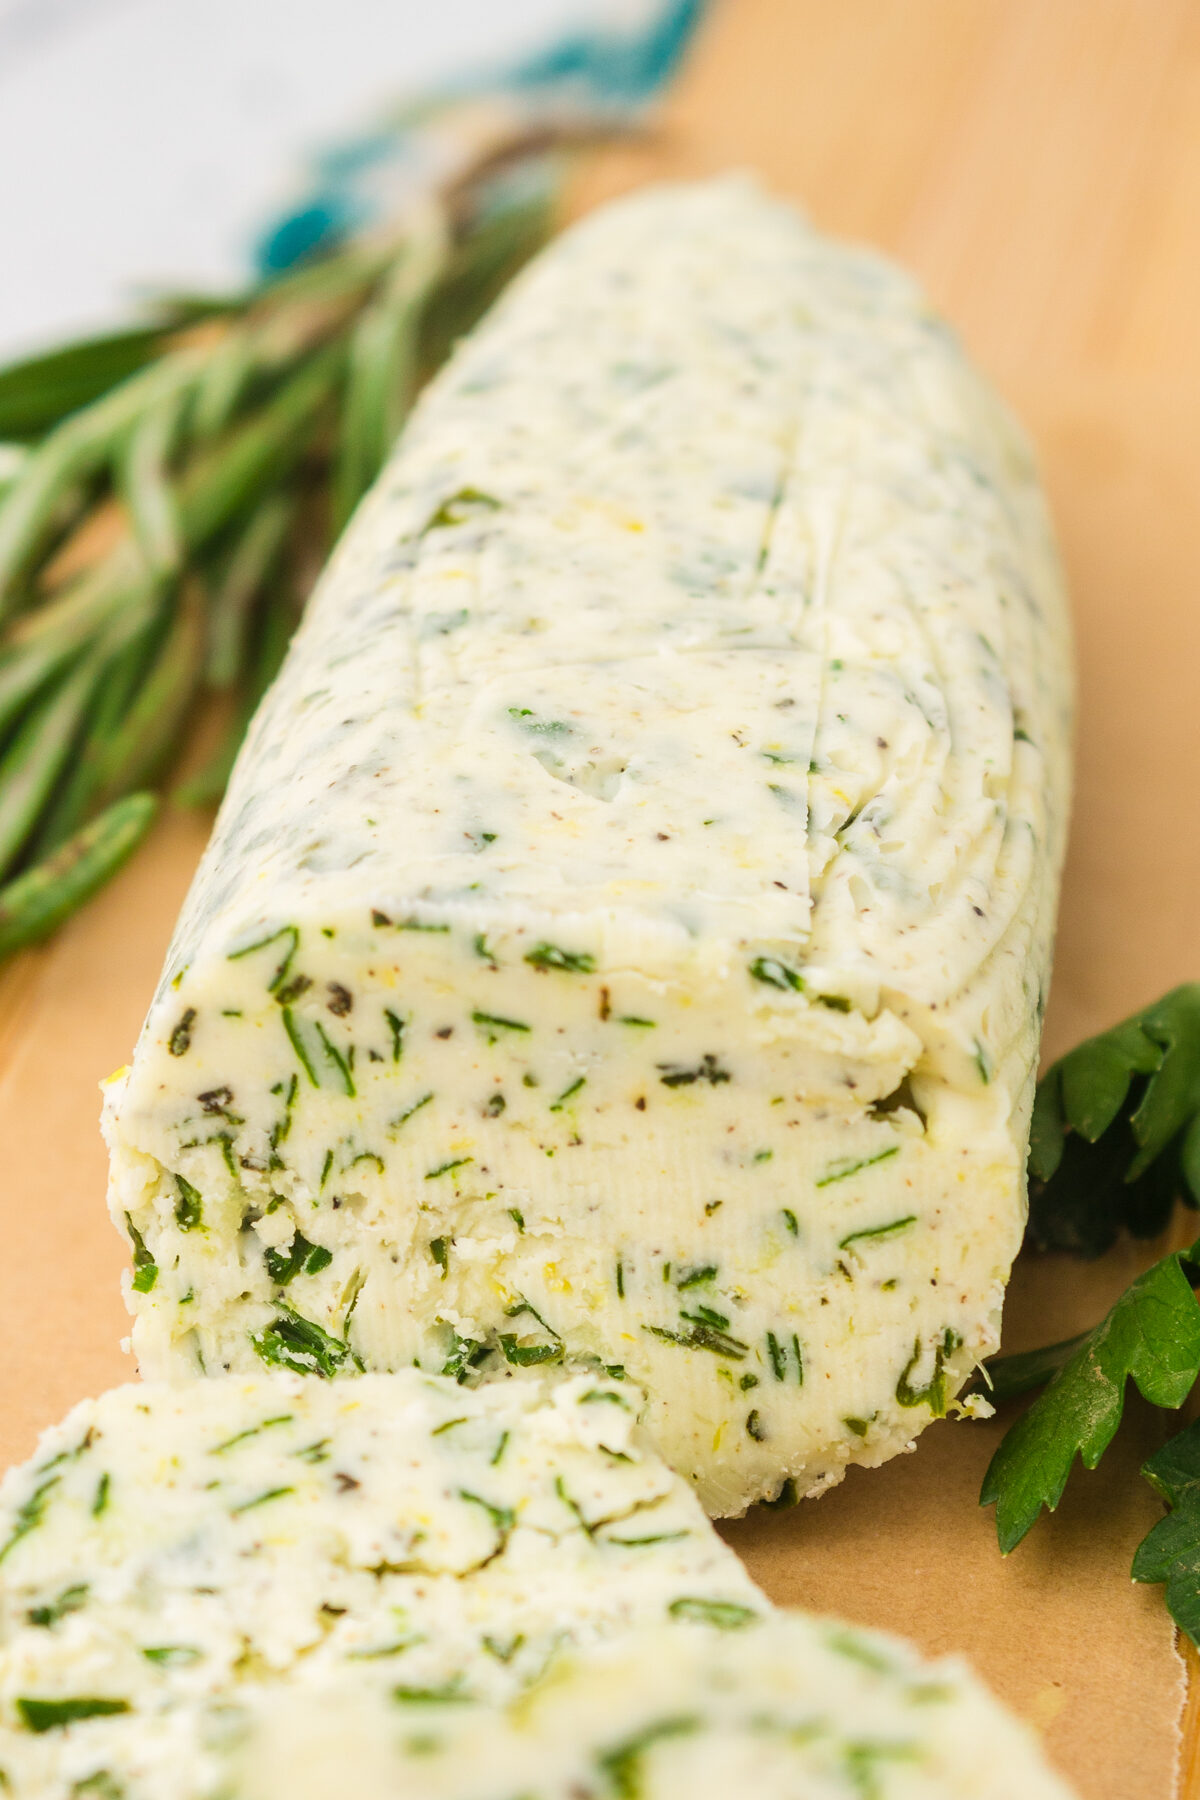
Create your own flavored compound butter with this recipe.
Try using cultured butter to top your favorite cooked vegetables.
Add a smear of cultured butter on blueberry muffins and pumpkin muffins. Try using some of the buttermilk in place of the liquid in these muffin recipes. It makes the muffins light and fluffy.
Replace regular butter with cultured butter in this Butter Chicken recipe.
Use it to butter this cheesy Garlic Bread.
Try using this fabulous cultured butter in your favorite recipe and taste the difference!
Try this recipe and love it? Review it by clicking the star rating ⭐⭐⭐⭐⭐ on the recipe card! This helps other readers to find this recipe since the recipe rating will encourage search engines, such as Google, to suggest it to others. This helps support Remake My Plate as we are a reader supported publication.
Equipment
- Stand Mixer or hand held mixer
- Mixing bowl
- Spatula
Ingredients
- 1 quart heavy cream
- 1/3 cup whole milk yogurt
Instructions
- In a covered bowl combine the cream and the yogurt. Allow them to sit at room temperature for at least 24 hours. Going 36 hours won't hurt anything. The mixture should thicken up a bit.1 quart heavy cream, 1/3 cup whole milk yogurt
- Place the bowl in the refrigerator to cool down before you begin whipping it.
- Once the mixture has cooled begin whipping the cream on high speed. If you have a stand mixer it will be a big help.
- Beat it on high speed until stiff peaks form and then reduce the speed.
- Continue to whip the mixture until it suddenly deflates and separates into small grainy pieces. Turn off the mixture.
- Strain the mixture to separate the liquid (strain over a bowl and save the buttermilk for cooking).
- Using a spatula begin to press the grains against the side of the bowl to release the buttermilk.
- Once there is no more liquid coming out add 1/2 cup of water and continue to paddle the butter. Pour off any cloudy liquid and replace it with fresh water. Continue to paddle the butter until the water remains clear.
- Pour off the water and paddle the butter to release any remaining liquid.
- Optional: Once there is no more liquid being released add a pinch or two of salt to taste.
- Store your cultured butter in the refrigerator.
Notes
Nutrition
You may also enjoy some of these recipes:
Want to get new recipes sent directly to your inbox? Then subscribe to our newsletter (see below) and be the first to know when we post a new recipe as well as get weekly shopping, cooking and meal planning tips. Follow me on Pinterest where you can find links to our recipes as well as other recipes you and your family will enjoy.
This post may contain affiliate links. Please see our disclosure policy. If you click on the banner below you will be taken directly to my Etsy shop to see the digital items currently listed.


So delicious and very easy to make